I’ll show you step by step how I turned this yard sale table into a beautiful piece by applying a furniture transfer!

I picked this up at a yard sale and right away was eager to pay $10 for it and start going through my furniture transfer inspiration ideas to get this repurposed!
Prep is everything!
Prep is everything. I don’t like doing it, never have and never will. But, I’ve learned the hard way that if you don’t prep your project it could easily take double the time, or turn into a re-do.
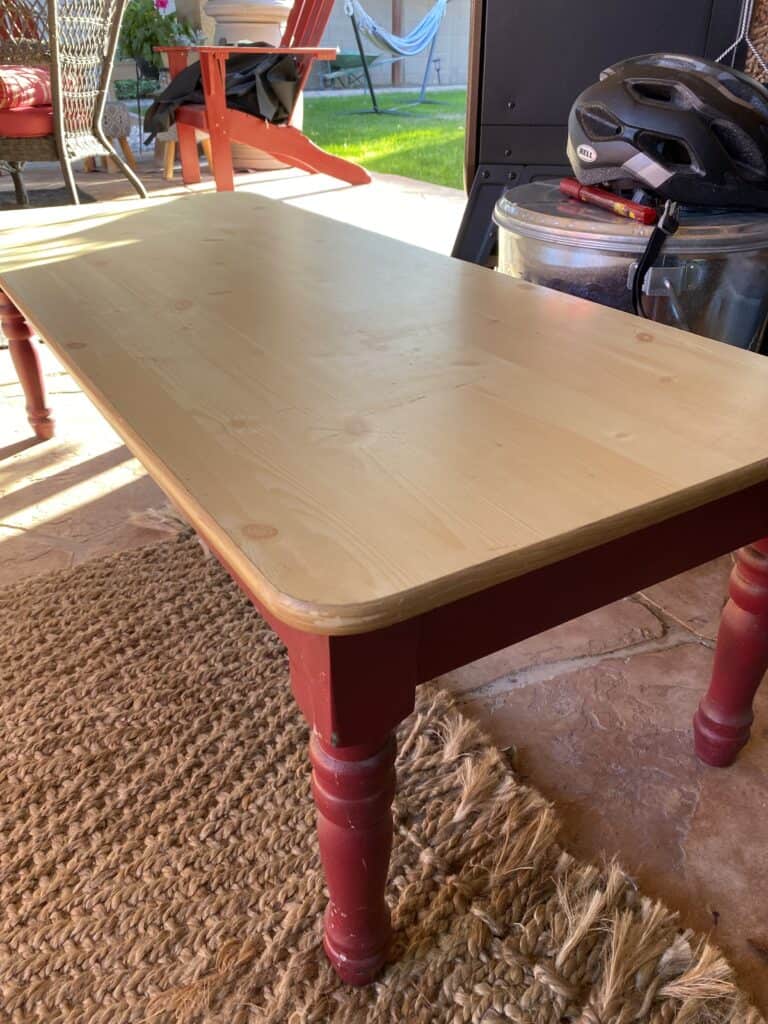
It was in pretty good shape, just a little dirty. I cleaned the whole piece with a damp cloth. I then let it dry for a day before bringing it into my shop.
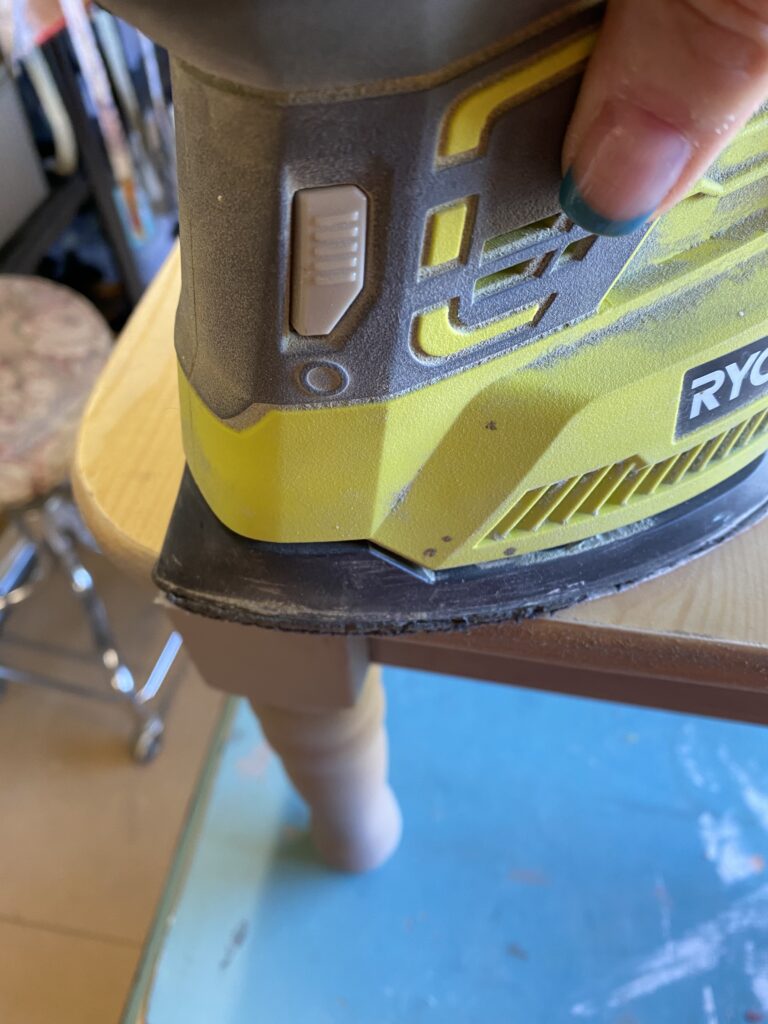
The top of this table is laminate. The edging around the sides had raised up a bit on parts of the table. I took my sander and easily sanded off the raised portions so the top of the table was smooth to the touch.

Let’s get the painting started!
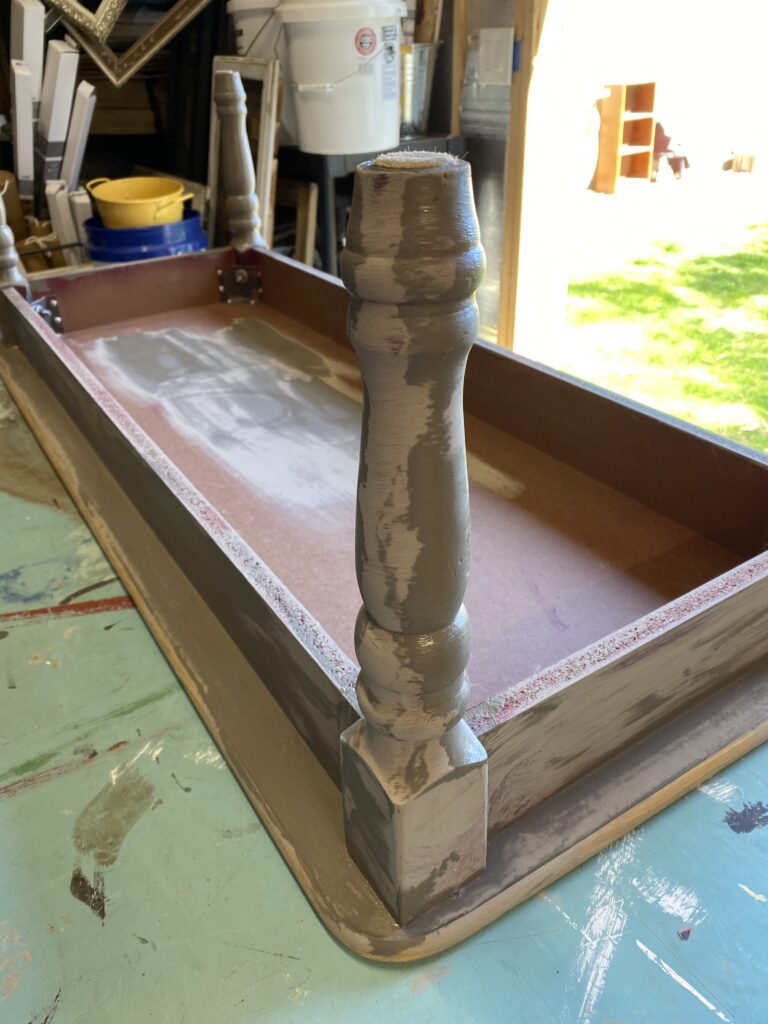
I haven’t always done this…but, Dave has convinced me it’s the best way to start. I flipped the table upside-down and painted the underneath and the legs first. It gives you a better view of the nooks and crannies and help you to not miss any areas.
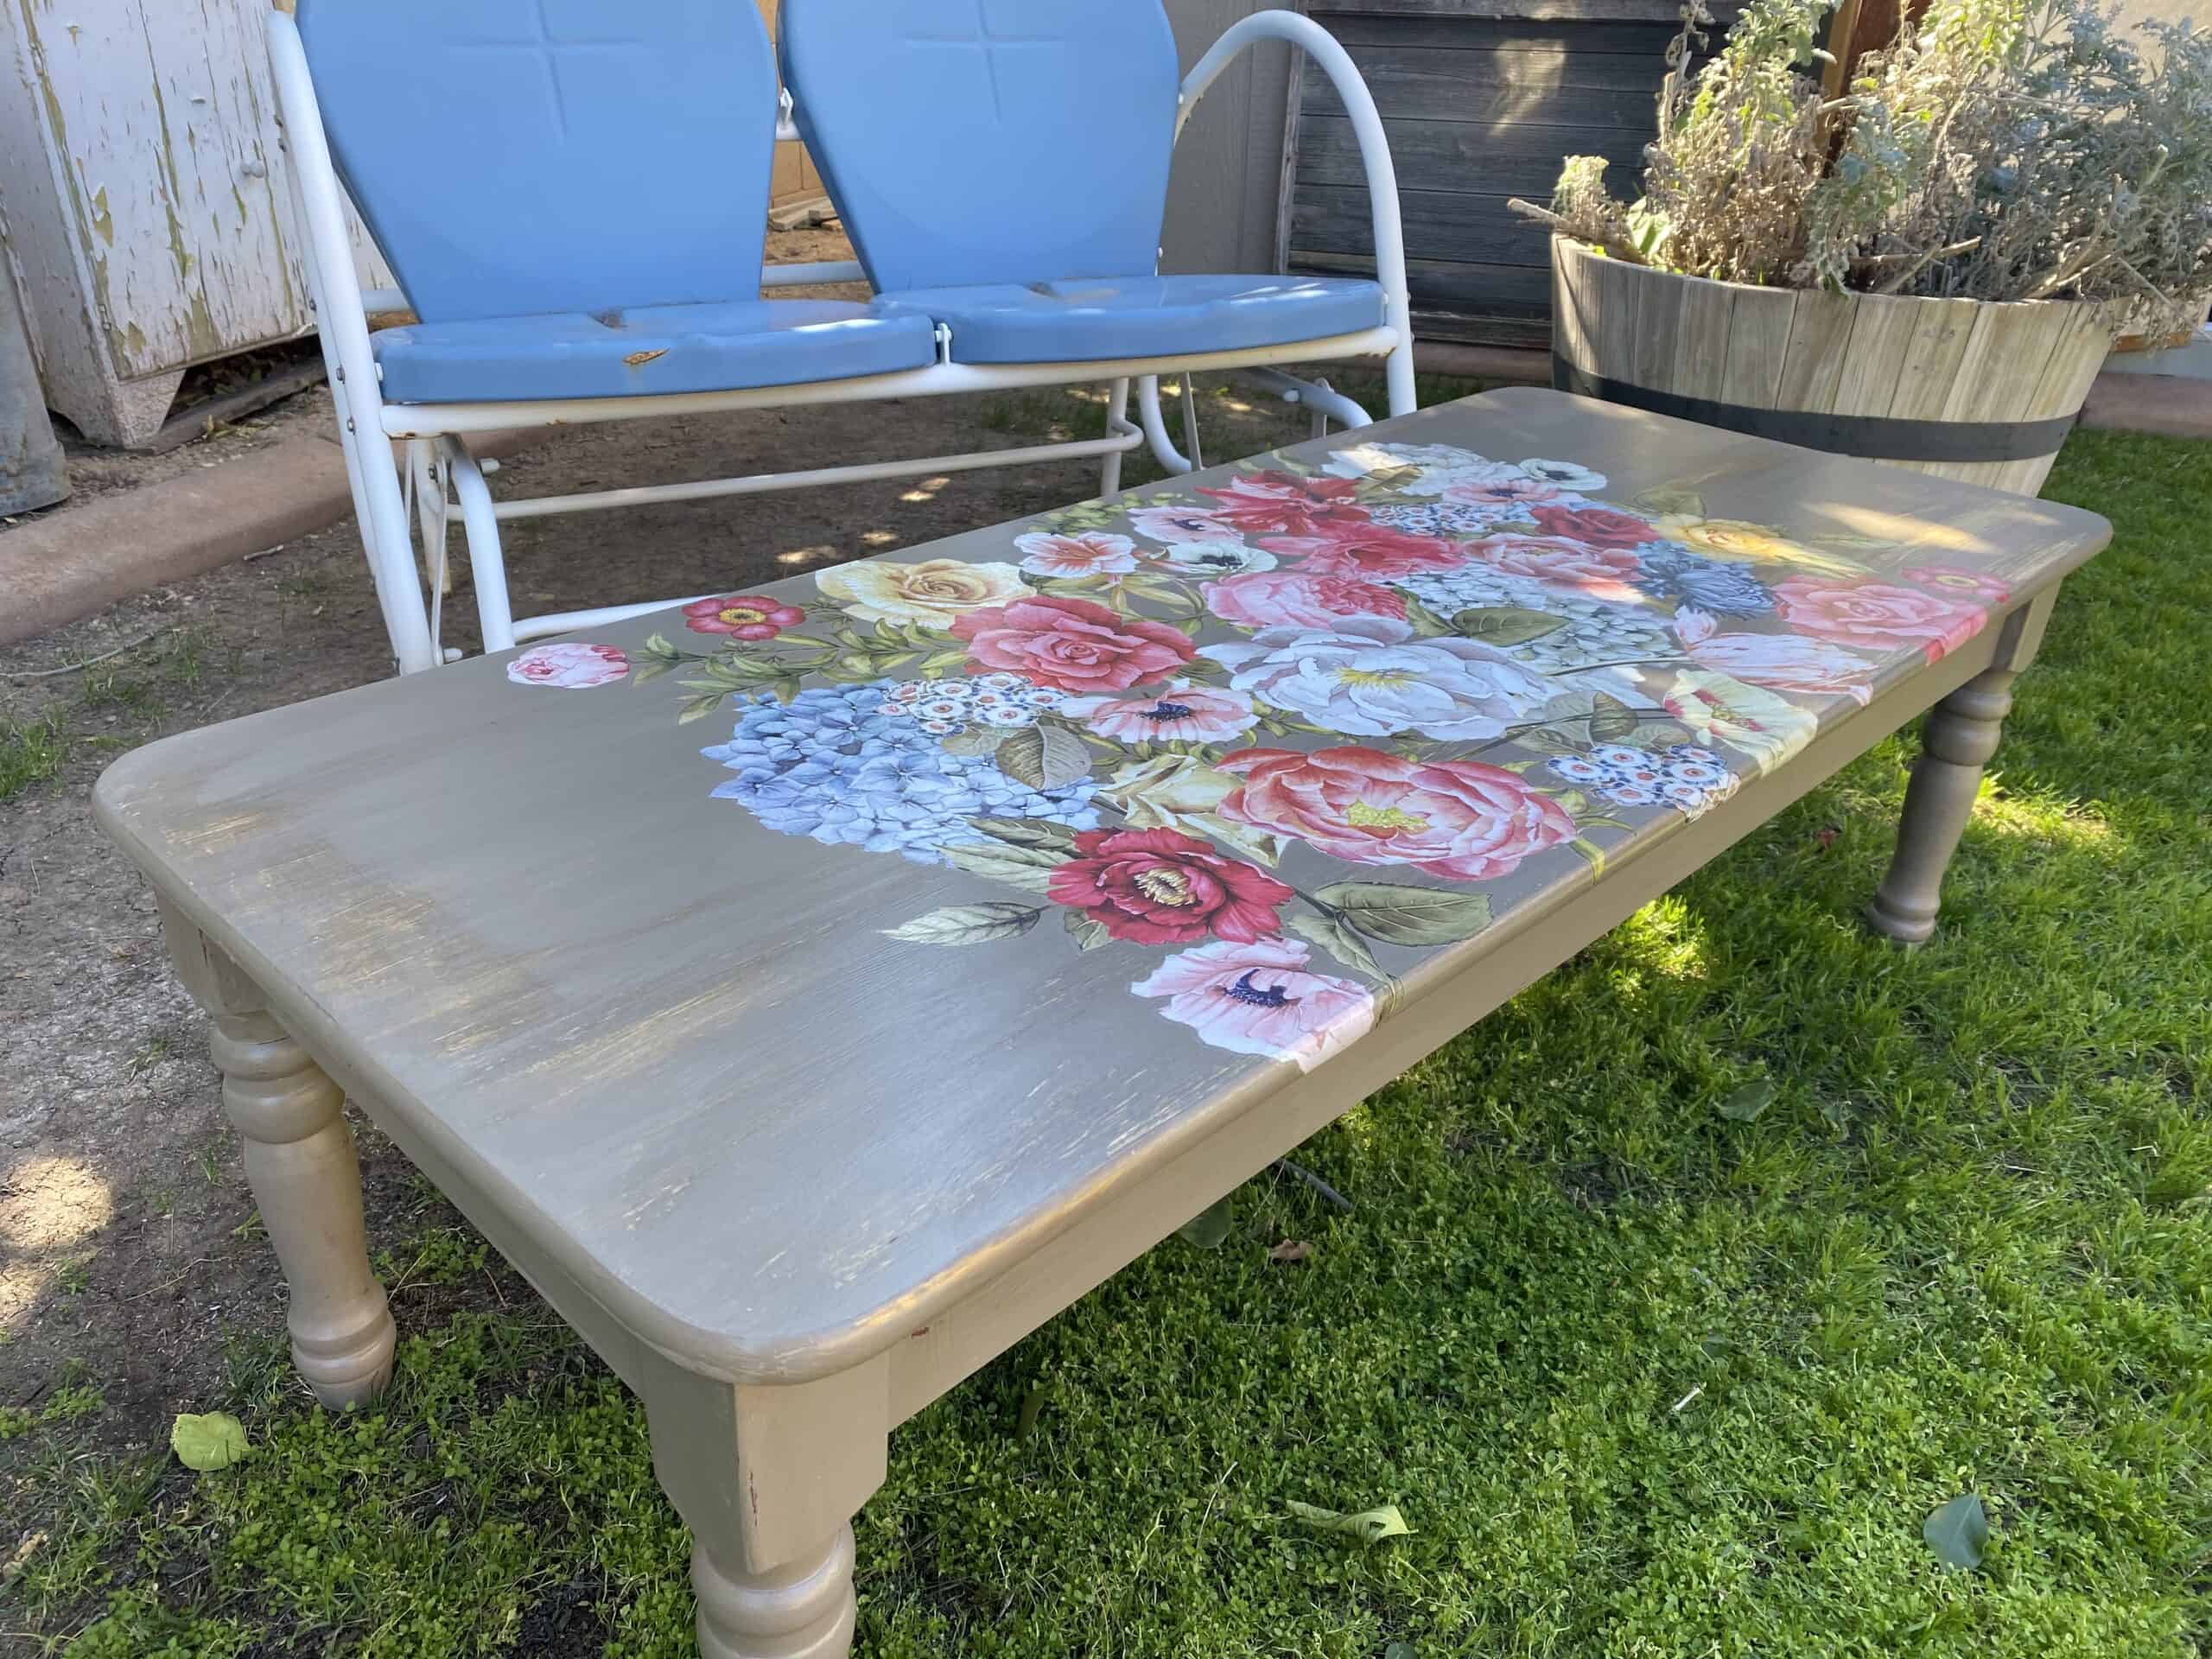
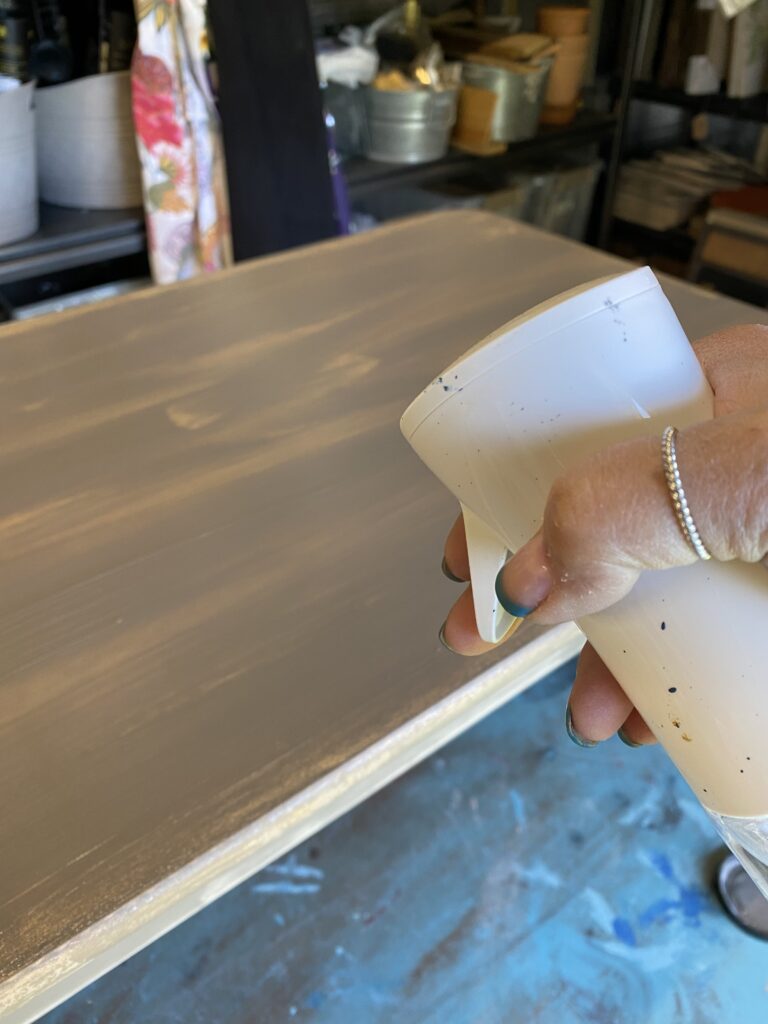
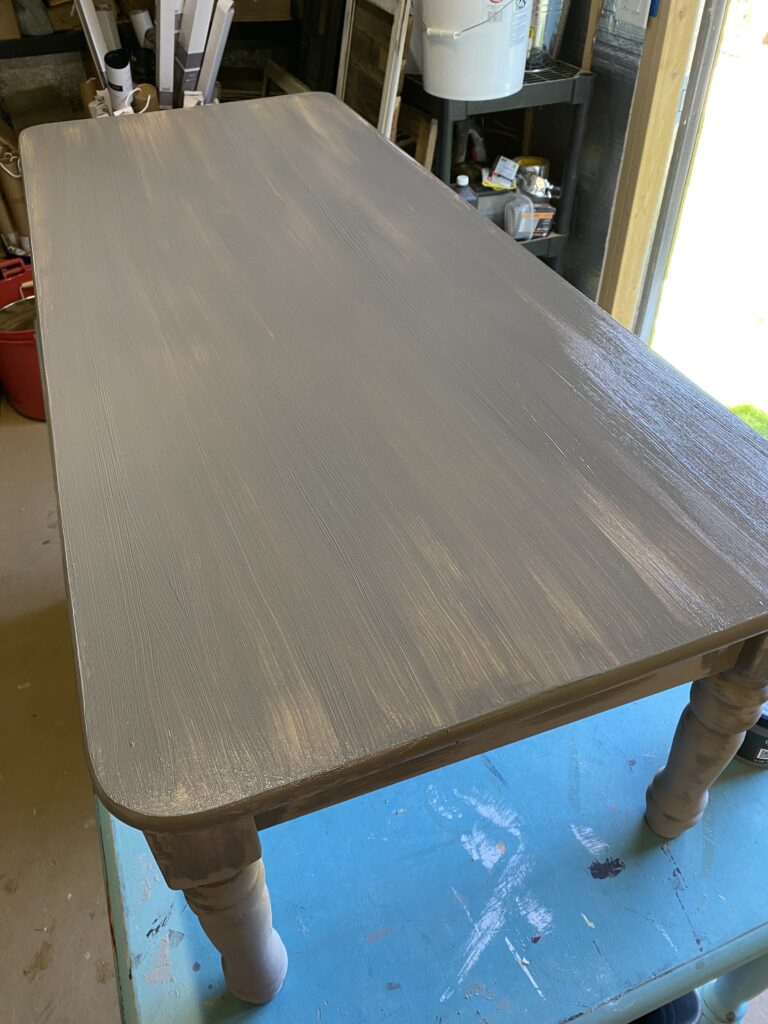
Once the bottom was painted and dry I flipped it over and started painting the top. I knew I wanted a distressed look so I misted a little water onto the wet paint and brushed it all again so the paint thinned in some spots. Once dry this will make it look warn in those areas.
Click here to purchase a mister.
I let it dry for a couple of days because I want a completely dry surface before applying the furniture transfer. This is the best part!
See the distressed areas? Just the look I was going for.
How to apply the furniture transfer:
This is the best part of refurbishing furniture in my opinion. I’m in love with furniture transfers. The designs are incredible and the options are endless. If you’re looking for inspiration or have a piece of furniture you’d like to refurbish you can purchase furniture transfers here in the Twist shop.
The transfer I chose is a three piece transfer. It is a Redesign with Prima product and you’ll find it here. I measured the length of table top and figured what both ends should measure so the transfer is centered and made a small pencil mark on the surface telling me where to start the first section.
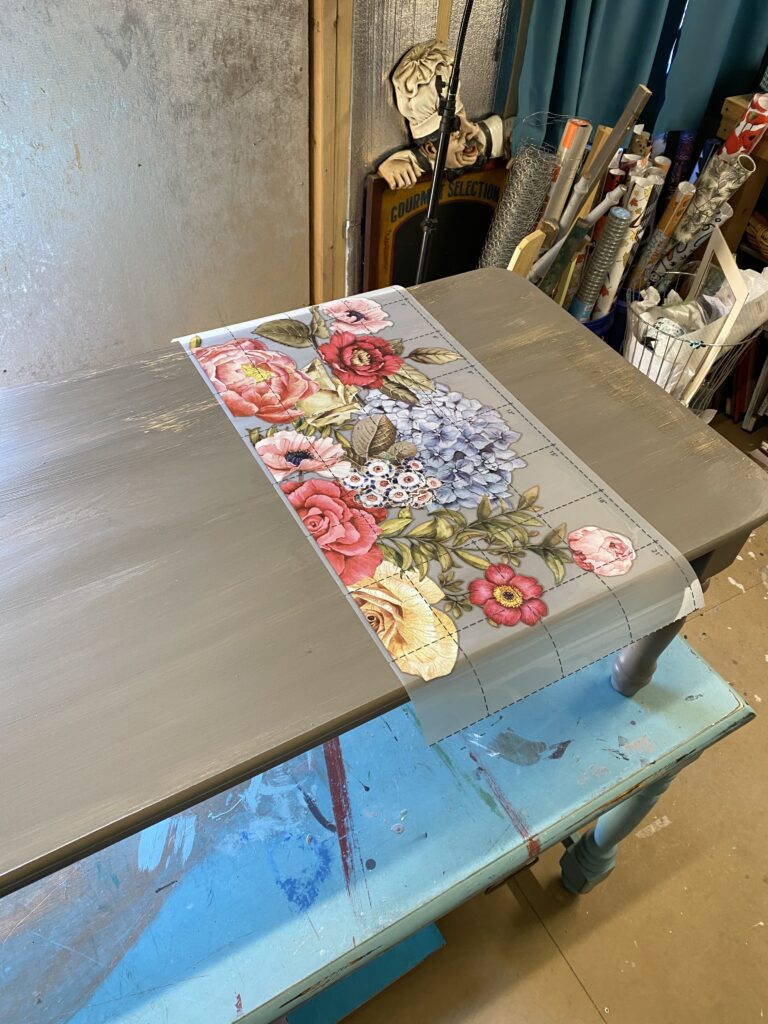
Once I had my placement, it was time to apply the transfer. This is such an easy process, you literally rub the design with the wood application (comes with each transfer) and gently life the plastic liner as the transfer adheres. It’s important to move slowly and set the plastic and transfer back down if you begin to see it has not attached properly. It just takes a little patience and some arm work. Good exercise!
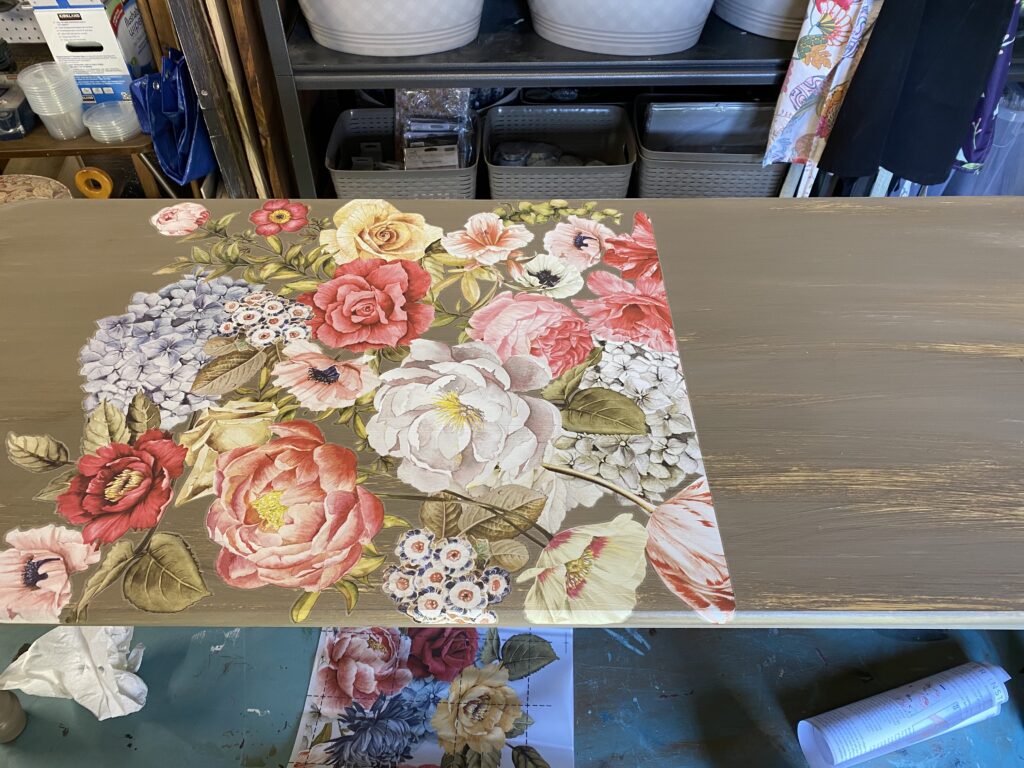
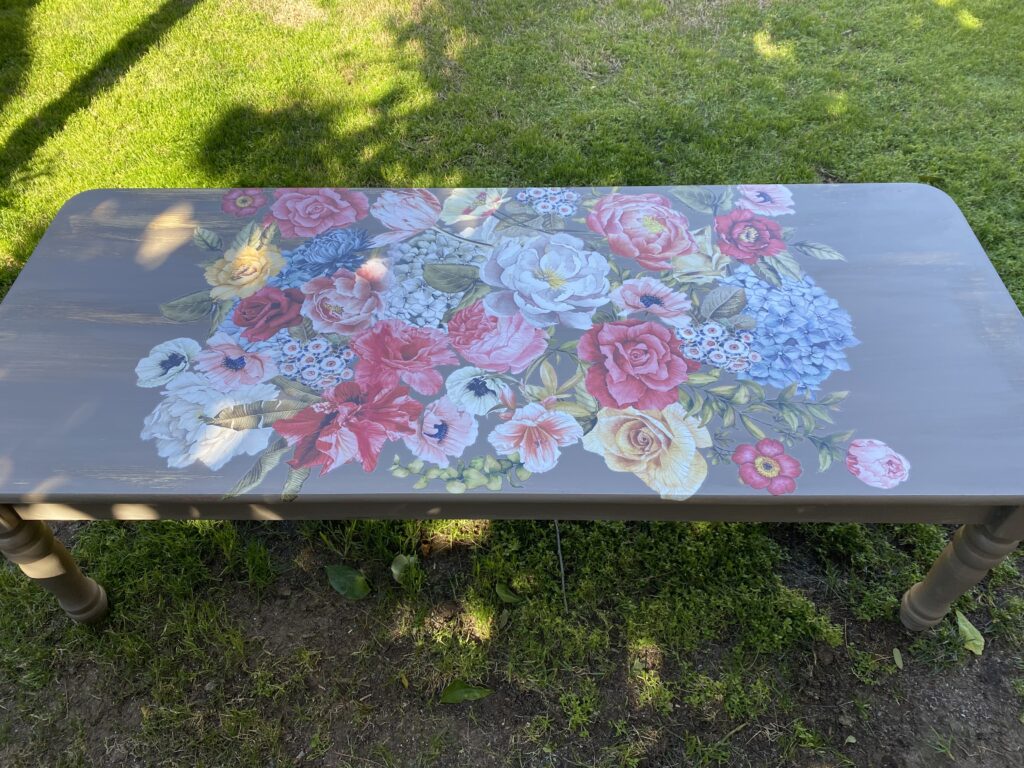
First two pieces are applied and it looks great!
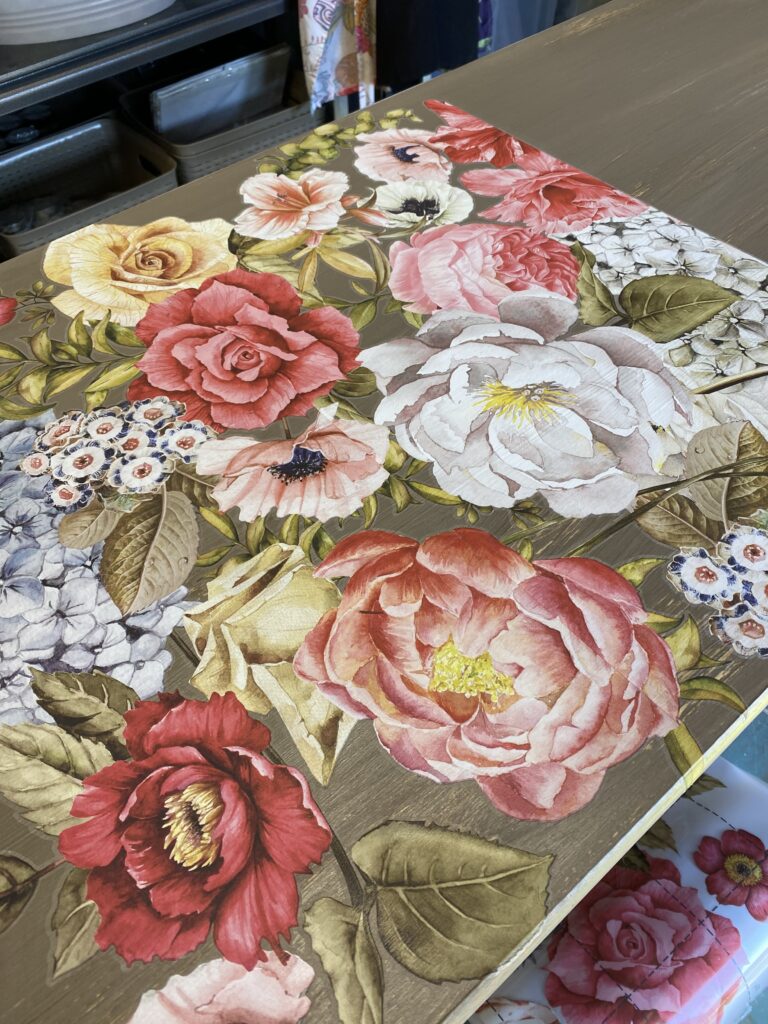
I applied the third and last piece of the transfer and I’m in love!
I brushed a top coat to the entire top to seal the furniture transfer for years of use. This is what I used and you can purchase it here.

Thank you for being here with me! Please don’t hesitate to message me with any questions regarding product or applying a furniture transfer.
Happy refurbishing! ~ Lisa